
Running CASM Lab Code with Jupyter Notebook
Published on .
Note: We use Mac OS X. On another OS, your mileage may vary.
The short version of the instructions are
- Create a
condaenvironment from theenvironment.ymlfile we provide - Run
jupyter notebookin Terminal and switch to your browser - Press play in the Jupyter notebook for each part of the code you want to run
And now the detailed version…
What is Jupyter?
From the Jupyter website:
The Jupyter Notebook is a web application that allows you to create and share documents that contain live code, equations, visualizations and explanatory text. Uses include: data cleaning and transformation, numerical simulation, statistical modeling, machine learning and much more.
We use Jupyter to create “Notebook documents”. These are interactive documents that combine code with rich-text explantions of the code.
Usually, our notebooks contain text explanations, paired with code that does things for you. These things will probably include generating configuration settings to make our code work for you.
Setting up Jupyter
We (and the folks over at Jupyter) highly recommend that you use Anaconda to manage your local Python installations. Anaconda installs both Python and Jupyter, as well as other useful packages (public Python code we reuse). We provide environment.yml files in our repos so you can use conda to install all the packages you’ll need for each repo easily.
Running the Jupyter Notebook
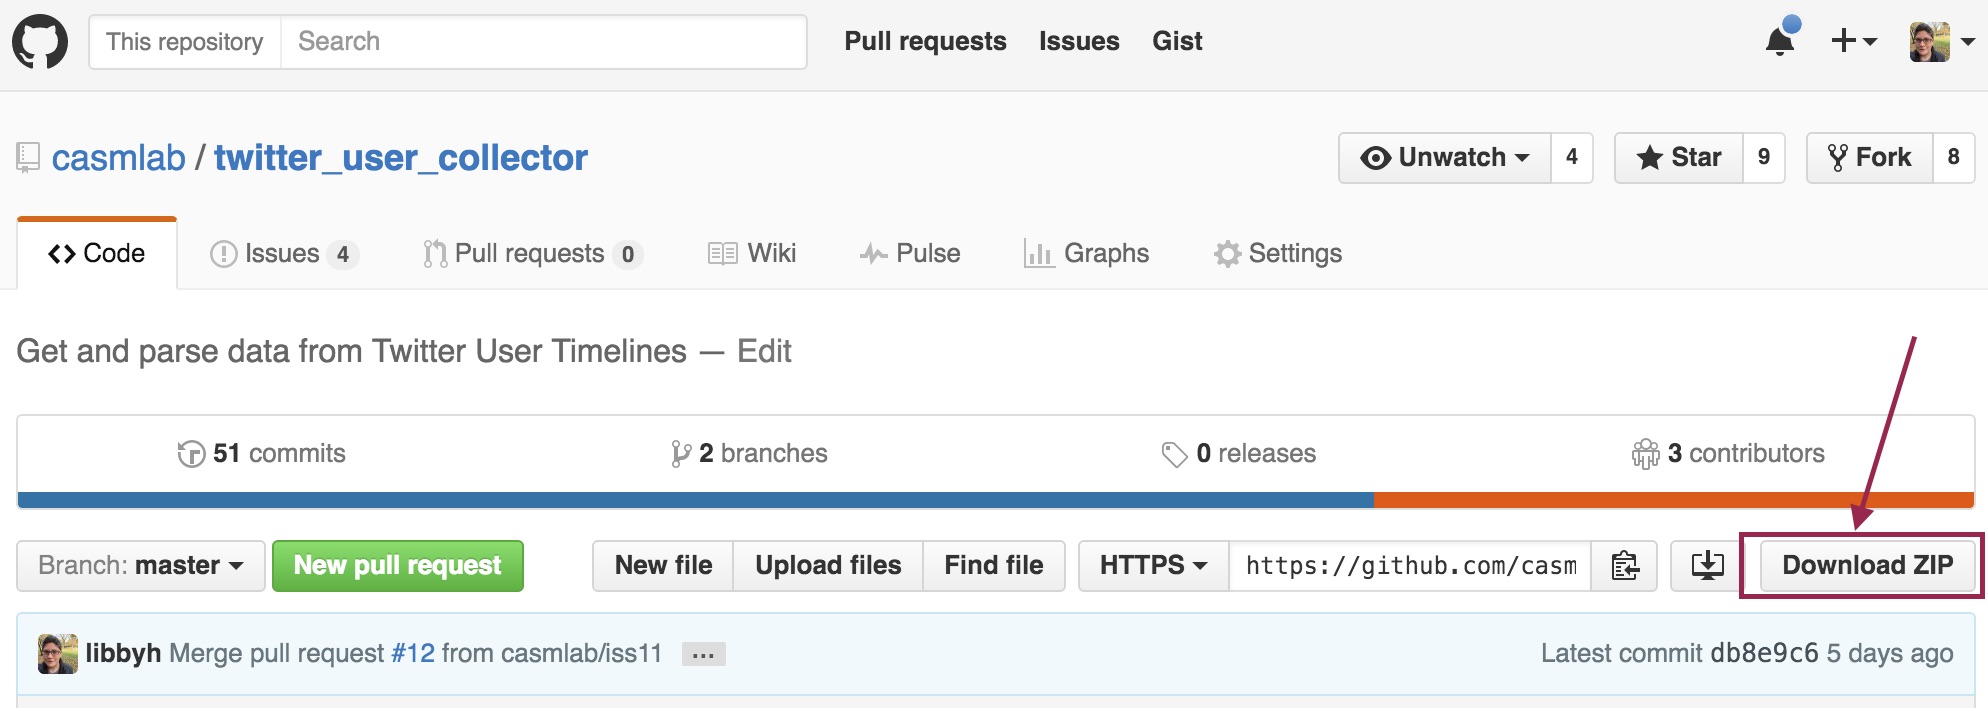
Once you have Jupyter installed, running a Jupyter notebook is fairly straight forward. First, download our GitHub repository onto your local machine (we recommend cloning into a local git repository, but you can also download a ZIP of the code).
cd into the directory containing the .ipynb file (e.g., cd /User/Documents/YourFolderName/...). Run jupyter notebook into your terminal. This command will launch a new browser window or tab that will display the Notebook Dashboard. From here, navigate to where you saved our repo and click on the Jupyter Notebook file (it should have a .ipynb file extension).
Once you have the Notebook open in a browser window, we suggest that you give it a quick readthrough. This will give you a cursory notion of what the notebook contains and what it should do.
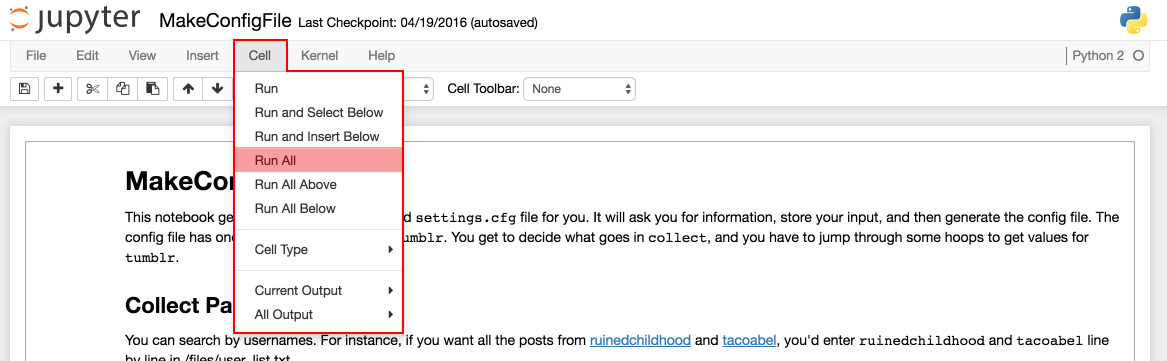
From the top menu bar, click “cell.” This will open a drop-down menu, from which you should click “Run All.” This will run all of the code within the notebook, one block at a time. It will move on to subsequent blocks when you have sucessfully entered input for the currently active block of code.
After the Notebook has run sucessfully, check your local machine to ensure that all files that the Notebook should have created are indeed where they should be. Within your terminal, press the control and c keys simultaneously to exit Jupyter.